How to Glaze Pottery at Home in the UK — A Beginner's Step-by-Step Guide
Glazing transforms raw fired clay into finished ceramics, but it's one of the steps that daunt beginners most. The truth is simpler than it looks: glazing is about understanding what your clay needs, matching it to the right glaze, and applying it properly. Once you know the basics—wax resist, dipping, and layering—you'll have control over colour, texture, and finish.
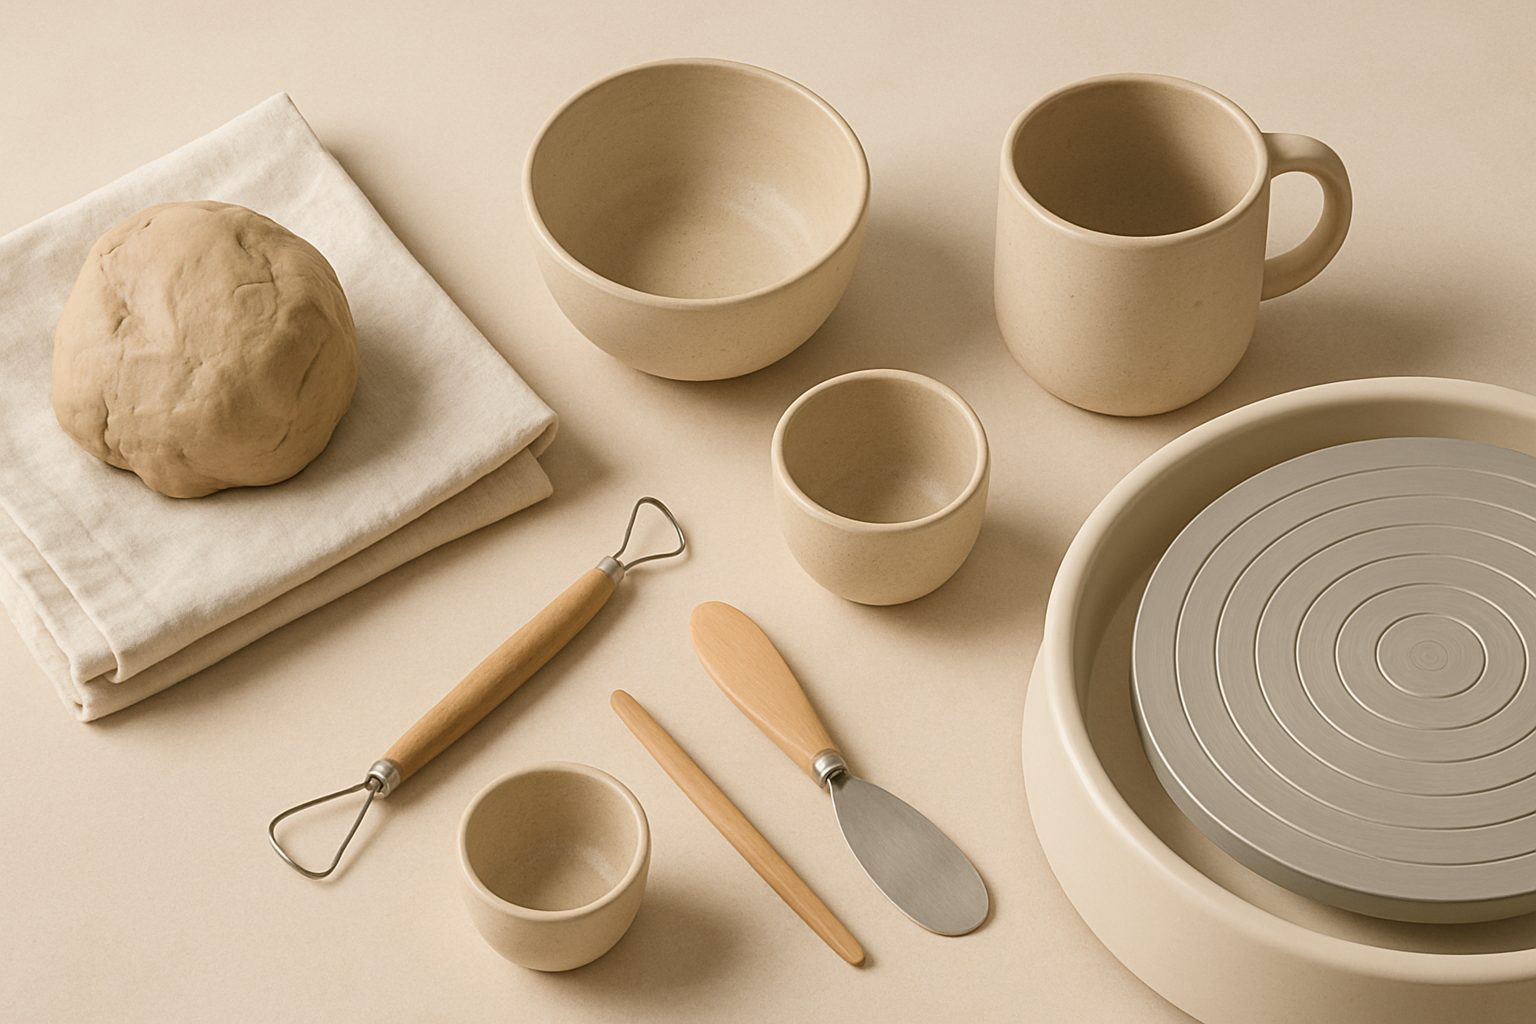
What You'll Need Before You Start
You don't need much to glaze pottery at home. A set of commercial glazes (earthenware or stoneware, depending on your clay body), buckets for mixing, and basic tools are enough to begin. Most home potters work with liquid glazes rather than powder, since powder requires careful mixing and creates dust. You'll also need wax resist (usually paraffin-based), brushes for application, and a clean workspace.
Your kiln matters less at first than you might think. You can use a community kiln, pottery club, or send work to a firing service—many across the UK offer affordable kiln-share schemes. Home electric kilns exist, but they're an investment worth exploring once you've glazed consistently and know your clay and glaze preferences.
Understanding Glaze and Clay Compatibility
Before you brush anything on, match your glaze to your clay. Earthenware clay fires to around 1000–1150°C and needs earthenware glazes. Stoneware clay goes higher—1200–1300°C—and uses stoneware glazes. The glaze and clay must fire at the same temperature, or you'll end up with crawling (glaze beading and flaking) or underfired, chalky surfaces.
Check your glaze tin or supplier's label—it always states the firing temperature. If you're unsure of your clay body, ask whoever you bought it from.
Preparing Your Pottery
Glazing works best on bisque (bisqued or biscuit ware)—pottery that's been fired once, usually to about 1000°C. Bisque is porous and absorbent, making it ideal for glaze adhesion. Before you glaze, wipe each piece with a damp sponge to remove dust and loose clay particles. This takes seconds but prevents grit from spoiling a smooth finish.
Pay special attention to the base and foot of your pot. Any glaze that touches the kiln shelf will melt and stick permanently, potentially damaging both your piece and the kiln. This is where wax resist comes in.
Applying Wax Resist
Wax resist is your safeguard. It's a liquid paraffin coating that you paint onto areas where you don't want glaze to stick. Traditionally, potters use it on the base of pots before glazing.
How to apply it: Thin a brush with warm water (not hot), dip it in melted wax, and paint a careful line around the base of your pot, about 5mm up from the foot. One thin coat is usually enough. Wax repels water-based glazes, so glaze won't stick where you've painted it. Once your pot is glazed and dried, the wax simply burns off inside the kiln—you'll never see it again.
Some potters wax the entire base and several centimetres up the side. Others get minimal and wax just the contact point. Start conservative: a poorly waxed piece is easier to fix than one stuck to the shelf.
Glazing Methods: Dipping, Brushing, and Layering
Dipping is the quickest method and gives the most even coat. Mix your glaze to the consistency of single cream—not too thick, not too thin. Submerge the piece quickly for 1–2 seconds, tilting if needed to coat all surfaces. Let excess glaze drip back into the bucket. This takes practice, but it's worth learning because it's fast and reliable.
For large pieces or awkward shapes, brushing works. Use a soft brush and paint on 2–3 thin coats rather than one thick one. Thick glaze brushstrokes show up in the final piece. Thin coats blend more naturally. Wait for each coat to dry slightly (2–3 minutes) before adding the next.
Layering is where glazing gets creative. Different glazes layered on top of each other react during firing, creating colours and effects you can't achieve alone. A cream glaze under a copper-green glaze might produce a pale green at the edges where they overlap. Experiment with pairs, but keep notes—success in layering is as much about recording what works as it is about intuition.
Drying and Firing
After glazing, let your pot dry fully before firing—at least 24 hours in a warm room. Any moisture trapped under the glaze will turn to steam, potentially causing the glaze to blister or crack.
Once dry, you're ready for the kiln. If you're using a community kiln or firing service, check their loading guidelines. Most have deadlines and specific stacking rules. If you're lucky enough to have access to a home kiln, follow the firing schedule for your glaze temperature—it's usually printed on the tin or the kiln's manual.
Learning as You Go
Your first glazed pot might not be perfect. Glazes are formulaic—they respond predictably to heat and clay chemistry, but environment and kiln placement matter too. One shelf might be slightly hotter than another; that changes colour and surface texture. Keep photos of your results. Note which glazes surprised you, which ones cracked, which turned the colour you hoped for.
The best home potters treat each firing as feedback, not a pass-or-fail moment. After a few pieces, you'll sense what works in your kiln and understand how to tweak your techniques to get the results you want.
More options
- Pottery Wheels (Electric & Tabletop) (Amazon UK)
- Home Pottery Kilns (Compact & Beginner) (Amazon UK)
- Pottery Clay (Stoneware & Earthenware Bags) (Amazon UK)
- Pottery Tool Kits & Hand Tools (Amazon UK)
- Pottery Glazes (Brush-On & Dipping) (Amazon UK)